
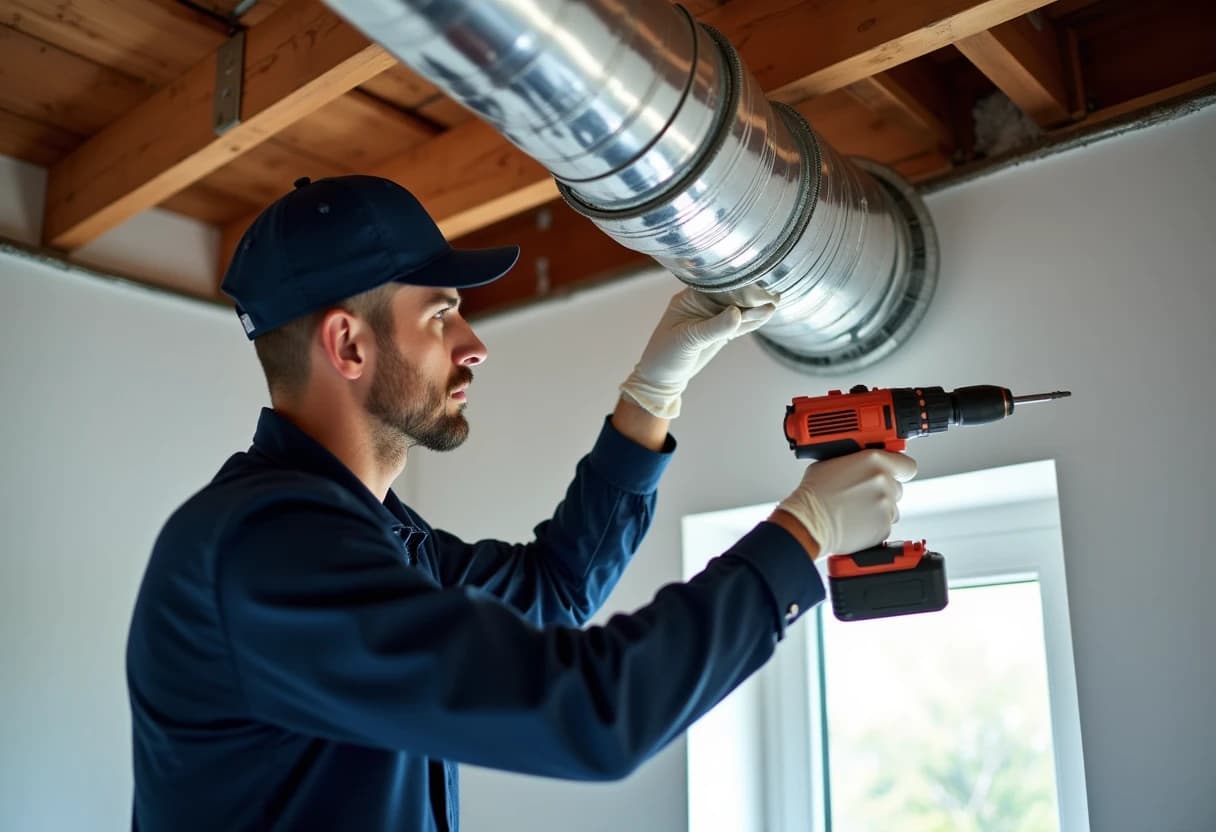
Some dryer vents cannot be cleaned or repaired into safety — they were never right to begin with. Runs assembled from vinyl or foil flex duct, routes that wander fifty feet through a basement, dryers venting into crawlspaces or garages, laundry areas with no vent at all: these call for installation, not maintenance. Our Greater Boston crews design and build code-compliant dryer exhaust systems from scratch — 4-inch smooth rigid metal duct, the shortest practical route to outdoors, joints without airstream-piercing screws, and a proper damper-equipped termination through the side wall, roof or rim joist. Priced flat from $300 to $900, finished in a day, and built to outlast the dryer itself.
If your dryer's exhaust path includes plastic flex hose, a window insert, a bucket of water, or a mysterious duct that ends somewhere inside the house, you need an installation — and you are not alone: we find improvised venting in Greater Boston homes every month. Indoor termination is the worst offender, pumping a gallon of moisture and a load of lint into living space or structure per cycle; long flex runs are a close second. We replace all of it with an engineered system: rigid metal duct on the shortest workable route, sealed and supported, terminating outdoors through a proper hood. The work typically takes half a day to a day, and we verify the result with the dryer running before we leave.
Why Dryer Vent Installation & Rerouting Matters
Dryer vent installation is where fire safety is actually decided. The roughly 2,900 US home dryer fires each year cluster around the same installation faults: flexible plastic or foil duct that traps lint in its corrugations, overlong runs the dryer cannot clear, screws through joints snagging fibers in the airstream, and terminations that clog or were never outdoors at all. The IRC's dryer exhaust provisions — 4-inch smooth rigid metal, 35-foot maximum equivalent length with elbow deductions, no protruding fasteners, damper-equipped unscreened termination — are the distilled corrections to those fault patterns. A vent built to that standard resists lint accumulation by design, keeps exhaust velocity high enough to carry fibers all the way out, and gives annual cleaning a smooth, brushable path to maintain. A vent built casually does the opposite, banking a little more fuel every load. Installation is a few hundred dollars once; the system it creates determines your laundry's risk profile for the life of the house. That asymmetry is the entire argument for doing it right.
Where the vent terminates shapes both the house and the maintenance schedule. Every option has an engineering trade: side-wall terminations are shortest and easiest to inspect, but must clear grade, snow line, and required distances from openings; rim-joist terminations serve basement laundries elegantly with minimal envelope disruption; roof terminations suit interior laundry rooms in condos and capes but load up faster — lint fights gravity the whole vertical run — and need durable, steep-weather-rated caps. What is never acceptable: terminating into an attic, crawlspace, garage, soffit vent or chimney, all of which we find regularly and all of which pump moisture and lint into the structure. The termination itself must have a backdraft damper that closes against winter wind and pests, and no screen — mesh mats over with lint in months, which is why the code forbids it. Our installations weigh the options against your home's layout and Massachusetts weather, cut clean penetrations through clapboard, shingle, brick or block, and flash and seal them so the envelope stays weather-tight for decades.
How Our Dryer Vent Installation & Rerouting Process Works
1Site Assessment & Route Planning
Every installation begins with the route. We assess the laundry location, measure candidate paths to the exterior, and score each against the code's 35-foot equivalent-length budget — deducting for every elbow — and against your home's structure: framing, foundation type, finished spaces, and where a termination can legally and sensibly exit. You get options with trade-offs explained, and a flat price for the route you choose.
2Demolition of Non-Compliant Venting
Replacement jobs start with removing what failed: vinyl and foil flex pulled from cavities and joist bays, abandoned duct capped or extracted, screened hoods and window inserts taken out, and improvised terminations into attics or crawlspaces closed off. We vacuum the lint these systems have shed along their routes — hidden accumulation that should not stay in the structure.
3Cut & Flash the Exterior Penetration
The exterior opening is cut precisely for the termination: hole saw through clapboard and sheathing, core drill through brick, block or stone, or a framed opening at the rim joist. We locate it to respect required clearances from grade, openings and inside corners, then flash and seal it so wind-driven New England rain stays out of the wall assembly permanently.
4Install Rigid Metal Duct on the Planned Route
The run goes in as 4-inch smooth-interior rigid metal duct — the material the IRC specifies — cut to fit, joined male-to-female in the direction of airflow, and assembled without a single screw protruding into the airstream: joints are clamped or externally fastened and sealed with UL-listed foil tape. Elbows are used sparingly and counted against the length budget.
5Mount the Termination Hood & Damper
The termination is a quality metal hood matched to the 4-inch duct, with a backdraft damper that swings fully open under airflow and closes tight against weather, drafts and pests — and no screen, which the code prohibits on dryer terminations because mesh mats over with lint. It is fastened to the cladding, sealed at the perimeter, and tested by hand before the first cycle.
6Connect the Appliance & Seal the System
At the dryer, we install a short UL-listed semi-rigid aluminum transition duct — the only place flexible material belongs — clamped at both ends and routed so it keeps full diameter when the machine is pushed to its working position. We mark the safe setback so the connector is never crushed by a future shove against the wall.
7Test, Verify & Document the Installation
Commissioning is non-negotiable: we run a full dryer cycle and verify strong, steady exhaust at the termination with the damper standing fully open — the visible proof the system delivers its design airflow. Where useful we measure and record the airflow, giving your annual cleanings a baseline number to verify against for years.
Benefits You Can Expect
Fire-Safe by Design, Not by Vigilance
A code-compliant installation attacks fire risk structurally: smooth rigid metal that lint slides across instead of catching on, a run short enough that exhaust velocity carries fibers all the way out, joints without screw tips to snag them, and a termination that cannot mat over. The system accumulates fuel slowly by design — safety that does not depend on anyone remembering anything.
Dramatically Faster Drying
Shortening a wandering 40-foot run to a direct 12-foot route transforms drying performance: full airflow means each cycle actually exhausts the gallon of moisture a load releases, so sensor dryers stop running overtime and heavy loads finish in one pass. Customers routinely describe post-installation performance as having bought a new machine.
Permanently Lower Energy Costs
A dryer that finishes in one cycle instead of two uses half the energy per load — a difference worth $10 to $20 a month to a busy household, recurring for the life of the system. Few building improvements have a payback mechanism this direct: the installation cost is fixed once, and the savings arrive with every laundry day after.
Moisture Managed, Structure Protected
Every load pushes about a gallon of water vapor through the vent, and an engineered system delivers all of it outdoors: continuous slope drains any condensate to the termination, insulation keeps exhaust above its dew point across cold spaces, and sealed joints leave nothing to drip. Your framing, insulation and finishes stay dry, load after load, year after year.
Code Compliance That Closes Every Question
The finished system meets the IRC's dryer exhaust provisions line by line: 4-inch smooth rigid metal, equivalent length within the 35-foot budget, no fasteners in the airstream, damper-equipped unscreened termination. For home sales, that removes a standard inspection flag; for permits and condo approvals, our documentation answers the questions before they are asked.
A Laundry Located Where You Actually Want It
Proper vent design frees the floor plan: a second-floor laundry, a kitchen-adjacent closet, a finished-basement corner all become viable when the exhaust route is engineered rather than improvised. We tell you honestly which locations work within the length budget — and often find compliant routes that make the layout you wanted possible.
Decades of Service From a One-Day Job
Rigid metal duct, properly supported and sealed, is lifetime infrastructure: it does not kink, sag, melt or degrade, and it routinely outlasts several dryers. After installation day, the system's entire maintenance schedule is an annual cleaning and an occasional glance at the damper. Most homeowners never think about it again — which is the point.
Warning Signs to Watch For
Your Vent Is Flexible Plastic or Foil Duct
Look behind and beyond your dryer: if the exhaust path is white vinyl or shiny foil accordion hose — especially if it disappears into a wall or ceiling that way — the system needs replacement, not another cleaning. Flex materials trap lint in every corrugation, crush at a touch, and in vinyl's case can melt. Codes and manufacturers rejected them long ago.
The Run Is Overlong or Elbow-Heavy
Count the route: if your duct wanders more than roughly 25 linear feet, or turns more than three corners, it is likely past the code's 35-foot equivalent-length budget once elbows are deducted — typically five feet per 90-degree bend. Beyond the budget, the dryer physically cannot keep lint moving to the outlet, and chronic clogging is built in.
The Dryer Vents Indoors — Anywhere
A vent that ends in an attic, crawlspace, garage, ceiling cavity or bucket-style indoor 'lint trap' is an urgent installation call. Every load pumps a gallon of moisture and a charge of fine lint into the structure or living space — feeding mold, soaking insulation, and accumulating fuel where no one will ever clean it. This setup should not run another season.
A New Laundry Location Needs Its First Vent
Moving laundry upstairs, finishing a basement, building an in-law suite or converting a condo all create the same requirement: a new exhaust route, designed before the walls close if at all possible. Vent routing decided at the framing stage is shorter, cheaper and cleaner than the same route retrofitted through finished surfaces months later.
Blockages and Repairs Keep Recurring
If your vent needs cleaning twice a year, blocks anyway, and has accumulated a history of repairs, the route itself is the problem — too long, too bent, wrong materials, or condensation-prone by design. At some point serial maintenance costs more than the reroute that ends it. We will do that math with you honestly; often the crossover is closer than expected.
Inspection, Insurance or Association Requirements
Massachusetts home inspections flag improvised dryer venting constantly — flex runs, screened hoods, indoor terminations, overlong routes — and the flag follows the transaction: buyers demand fixes, sellers concede credits. A documented compliant installation clears the item permanently, whether you are listing this spring or just retiring a known liability.
Chronic Condensation the Route Guarantees
Some vents condense because of damage; others condense because of design — long uninsulated passages through cold basements, garages or attics where exhaust cannot stay above its dew point, or bellied routes with no slope to drain. When repair visits keep treating water in the same duct, the route is the diagnosis, and rerouting or rebuilt insulation and slope is the cure.
Dryer Vent Installation & Rerouting Cost in the Boston Area
Dryer vent installation in Greater Boston typically runs $300 to $900, and the price is mostly the route. At the low end, $300 to $450: a straightforward side-wall or rim-joist installation with a short run — dryer near an exterior wall, one clean penetration, minimal duct. Mid-range, $450 to $650: longer routes with several elbows, full flex-to-rigid replacement along an existing path, insulation over unheated space, or masonry penetrations through brick or block foundation. The top of the range, $650 to $900: reroutes through finished space with access openings, roof terminations with proper flashing, relocations that move the laundry's exhaust across the floor plan, and multi-story routes in triple-deckers and condos. Every quote is flat and follows a site assessment — we measure the route, do the equivalent-length math, and price the specific design you approve. Materials are included: rigid metal duct, listed transition connector, clamps and foil tape, insulation where needed, and a quality damper-equipped termination hood.
Multi-family and condo installation pricing carries a few specifics worth knowing up front. Roof terminations — common for interior condo laundries — sit toward the top of the range for the flashing and access work, typically $650 to $900 for the full installation. Association requirements add process rather than much cost: we provide written scopes for board approval and certificates of insurance at no charge, and our documentation is built to satisfy trustee and management-company review. The meaningful savings lever is coordination: when a triple-decker owner or association books multiple units in one mobilization, shared setup, staging and travel drop per-unit pricing by 20 to 30 percent, and the building ends up with one consistent, compliant system instead of three eras of improvisation. For laundry-relocation projects inside renovations, timing is the lever: venting roughed in while walls are open routinely costs $200 to $400 less than the identical route built after finishes, which is why we encourage a planning call at the framing stage — free advice that saves real money.
Seasonal Considerations in New England
There is a right season for dryer vent installation in Massachusetts, and it is earlier than most homeowners think. Exterior penetrations, flashing and sealant all prefer dry, above-freezing weather, and roof terminations essentially require it — which makes late spring through fall the natural construction window. Demand tells the same story from the other side: our installation calendar fills through fall as households discover failing vents during the first heavy-laundry weeks, and winter installs, while entirely doable for wall and rim-joist routes, involve weather scheduling around the exterior work. The strategic move is the one our repeat customers make: assess in summer, install in early fall, and enter the heating season — when the dryer works hardest and the house seals tightest — on a fresh, verified, code-compliant system.
Why Boston Air Duct Cleaners
Boston Air Duct Cleaners is a local, owner-operated company based at 1121 Washington St in West Newton — not a national franchise dispatching subcontractors. Every crew is our own: background-checked, factory-trained on commercial negative-pressure equipment, and fully insured. We quote flat prices before work begins, document every job with before-and-after photos, and follow NADCA-standard source-removal methods on every system we touch. That is why so much of our work comes from repeat customers, property managers and word-of-mouth referrals across Greater Boston.